Hiking Vidden in Bergen: Guide to the City's Most Famous Mountain Trail
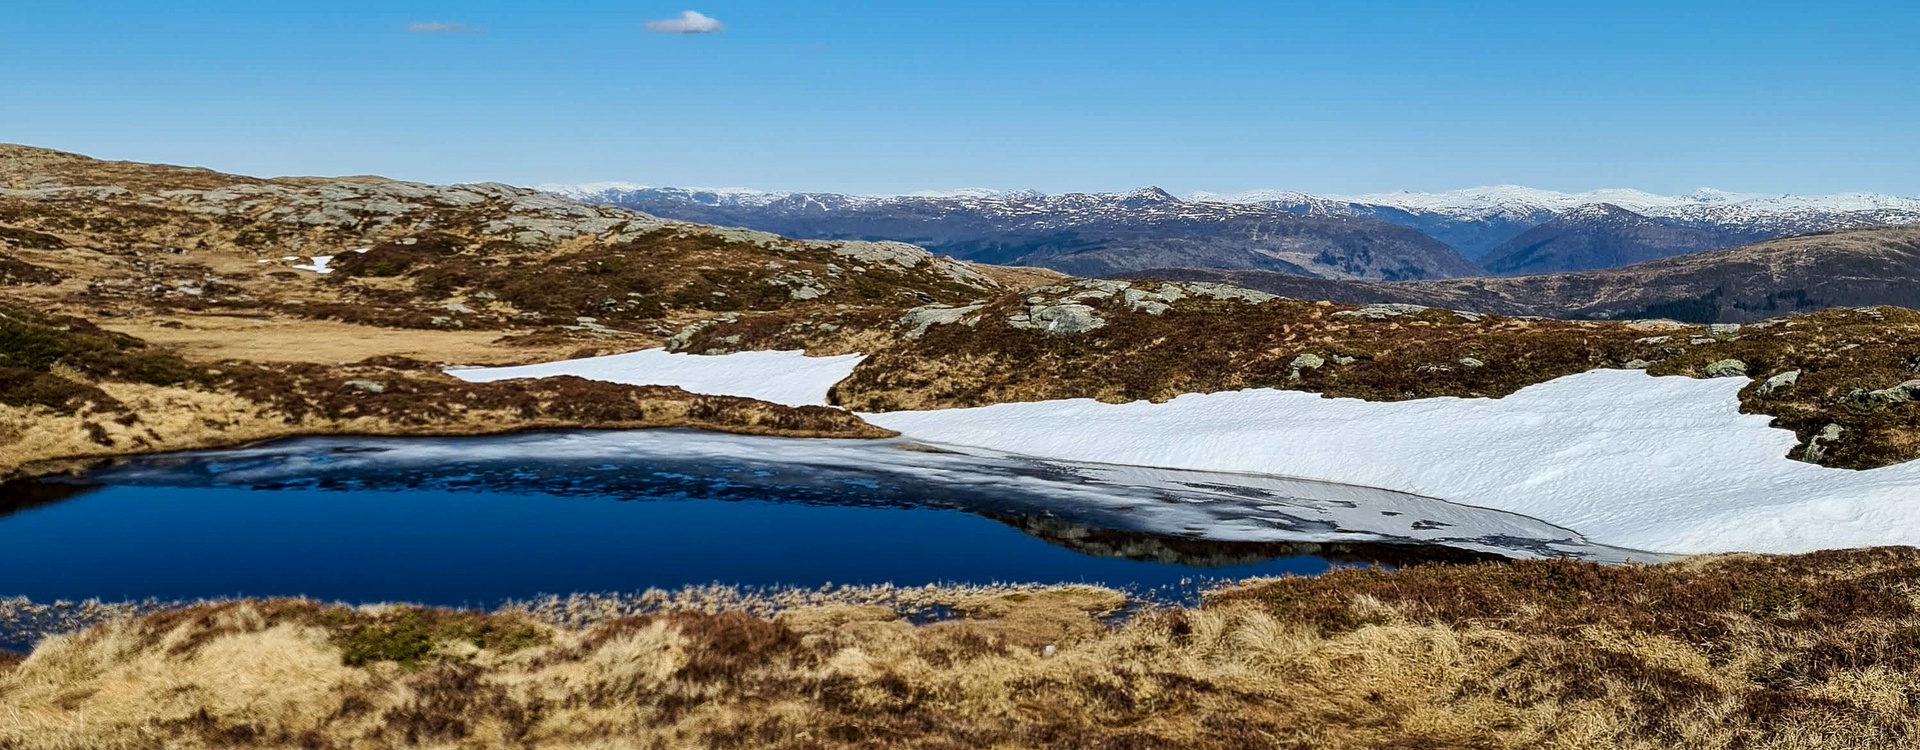
Planning on hiking Vidden in Bergen? Stretching across the mountain plateau between Mount Ulriken and Mount Fløyen, the Vidden trail is arguably the most famous and beloved day-hike in Bergen. This hike offers a true feel of mountains just a stone's throw from the city centre, with breath-taking panoramic views of Bergen and the surroundings.
About Vidden, Bergen
For this hike, you can choose to begin at either Mount Fløyen or Mount Ulriken and conclude at the opposite one. If you want a shorter route, you can take the Ulriken cable car up, walk the Vidden plateau trail, and then take the Fløibanen back to the city centre.
Facts about Vidden
- Trail length: Approx 13km (using the cable cars) Approx 18km (including ascent/descent of Mt.Ulriken and Mt.Fløyen)
- Elevation gain Fløyen to Ulriken: Approx 776 m
- Elevation gain Ulriken to Fløyen: Approx 700 m
- Hike duration: 4-6 hours (depending on pace, weather and fitness level)
- Difficulty level: moderate
What is the best way to hike Vidden?
It’s common to hike Vidden in both directions, and both routes have different advantages. Here’s a breakdown of both routes so you can choose the option that best suits you or your group.
Option1: Fløyen to Ulriken
Best for: beginners, groups checking their fitness level and unpredictable weather
While this route technically has slightly more total elevation gain, it offers much better control and and safety options during the first leg.
From Fløyen to Rundemanen
This first stretch up to Rundemanen (568 m) follows a wide, well-maintained gravel road, a good warm-up to assess your group's fitness. From the top, you get a view of the mountain plateau in the distance. If there is fog, poor conditions, or your legs already feel heavy, there is no shame in turning back, rule 8 of the Norwegian mountain code (Fjellvettreglene). You can either return the way you came, or take Tarlebøveien down to Svartediket.
Rundemanen to Øvre Jordalsvatnet
From the top of Rundemanen there is a descent of about 100 metres while you follow Tarlebøveien (Tarlebø road) for approximately 750 metres. This brings you to a fork in the path where you will see a sign pointing towards Ulriken and Vidden. As soon as you turn left here, the trail changes significantly. The gravel road transtions to a mountain trail with varying and uneven terrain. From here to the lake Øvre Jordalsvatnet it is about 1.5 km.
Øvre Jordalsvatnet is a drinking water source, so swimming and wading in the water is prohibited. At the southwest end of the lake, you will find a little stream that flows down to Tarlebøvatnet. This is the most suitable place to fill up on water for the rest of the hike across Vidden, and it is a spot that is frequently used for breaks.
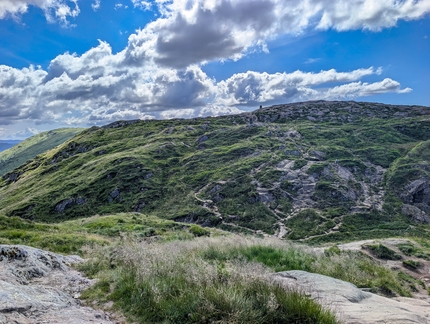
Up Trappefjellet to Borgevardegga (580–637 m.a.s.l.)
The next section of the trail to Vidden is a steep and often muddy ascent up to Trappefjellet (580 m). If you or anyone in your group experiences vertigo, it is highly recommended to stick to the middle trail, as the trail on the right has an exposed drop down to the lake below.
From the top of Trappefjellet, you continue to Borgevardegga (637 m). Here, the trail becomes less muddy and inclines gently on more solid mountain ground, surrounded by beautiful, open landscape.
Borgaskaret
You continue to follow the line of cairns southward to Borgaskaret, which meets the trail up from Isdalen. Borgaskaret is a relatively steep dip on the trail. Walking from Fløyen towards Ulriken, you get a gentle decline down to Borgaskaret, followed by a short, steep scramble back up to the plateau. Walking the opposite way, from Ulriken to Fløyen, this section becomes the steepest descent on the whole route. If you or anyone in your hiking group is a bit inexperienced in the mountains, this is another reason to hike Vidden from Fløyen, as it is usually easier to go up steep sections than down them.
Hauggjelsvarden to Ulriken
Once past Borgaskaret you continue to Hauggjelsvarden (673 m) which is the highest point on the hike. After Hauggjelsvarden the trail continues on towards Storfjellet and the radio mast on Ulriken becomes increasingly visible in front of you. The trail itself on this last stretch of the hike is clear, but it starts to become slightly more rugged, with small ups and downs here and there. The very last leg to Ulriken has a small ascent.
When you arrive at Ulriken, you’ve officially completed Vidden and can celebrate with a bite to eat in the restaurant or refreshments in the café. To get back to the city centre you can take Ulriksbanen down, challenge your knees with 1,333 stone steps down Oppstemten or walk via Montana.
Option 2: Vidden from Ulriken to Fløyen
Best for: Hikers wanting less elevation gain and a convenient finish directly in the city centre.
Mount Ulriken is situated higher than both Fløyen and Rundemanen. By choosing this route, your total elevation gain across the plateau will be slightly less than if you hike the opposite way.
Start from Ulriken and crossing Storfjellet
The hike begins at the top of Mount Ulriken and is well-marked. From the radio mast, follow the sign-posts and the line of cairns heading north. The first stretch takes you through slightly rugged and most rocy terrain, though there are a couple of spots that can get a bit muddy. Eventually the terrain flattens out, rewarding you with lovely views as you aim for Hauggjelsvarden (673 m) which is the highest point on the trail.
Borgaskaret
Continuing past Hauggjelsvarden, the path slopes gently down before you reach Borgaskaret. Borgaskaret is a steep section which can be a little tricky if you’re not accustomed to walking in rugged mountain terrain.
When hiking in the direction from Ulirken, you’ll be heading down this steep scramble. Take your time! The easiest approach is to keep to the far right of the path here, where there tends to be the best footing (note weather conditions can affect his). At the bottom the trail merges with the path up from Isdalen. From here, you have a short, more gentle ascent back up to the plateau.
Over Borgevardegga and down Trappefjellet
After Borgaskaret, the trail levels you again and you walk though a beautiful, oop landscape passing Borgevardegga (637 m). Here you collow the clear line of cairns on mostly rocky terrain.
Gradually you will start the decent towards Trappefjellet (580 m). The path here can be very muddy and slippery. When making your way down this sections, it’s highly recommended that you stick to the middle section of the trail. The trail on the far left runs close the cliff endge, with no safety barrieres or railings, making it unfavourable when it’s rained or if anyone in your group suffers from vertigo.
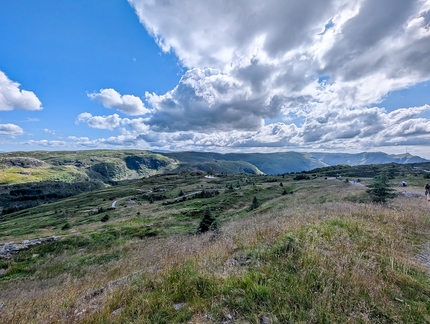
From Øvre Jordalsvatnet to Rundemanen
After you’ve descended from Trappefjellet, you arrive at a lake called Øvre Jordalsvatnet. Right next to the descent there’s a little stream where you can easily refill your water bottles, and will usually find people having a break. Please note that the lake itself is a drinking water resource, so swimming is strictly forbidden.
From the lake, follow the path for about another 1,5 km until you reach the gravel road Tarlebøveien. Turn right there and follow the road here for about 750 metres until you reach Rundemanen. This is the final ascent of the hike.
Tip: If you don’t want to walk back to Fløyen, you can turn left at this crossroad and follow Tarlebøveien all the way down to Svartediket instead.
The final stretch from Rundemanen to Fløyen
Once you’ve made it to the to the top of Rundemanen, you’ve put Vidden behind you. The rest of the hike is now on a gravel road. There’s approximately 3.5 kilometres to your final destination at Fløyen. Once you arrive, you can celebrate your completed hike at the café, restaurant, or bar at Fløyen, before either taking the Fløibanen funicular down or walking down one of the paths leading directly into the city centre.
Skiing across Vidden
On beautiful, snowy winter days, a ski trip across Vidden can be a fantastic experience. Take the Ulriksbanen cable car up to the mountain, and you will be greeted by flat and beautiful terrain – perfect for cross-country skiing.
However, remember that the weather can change quickly, and the trip is long. So be sure to take the neccesary precautions.
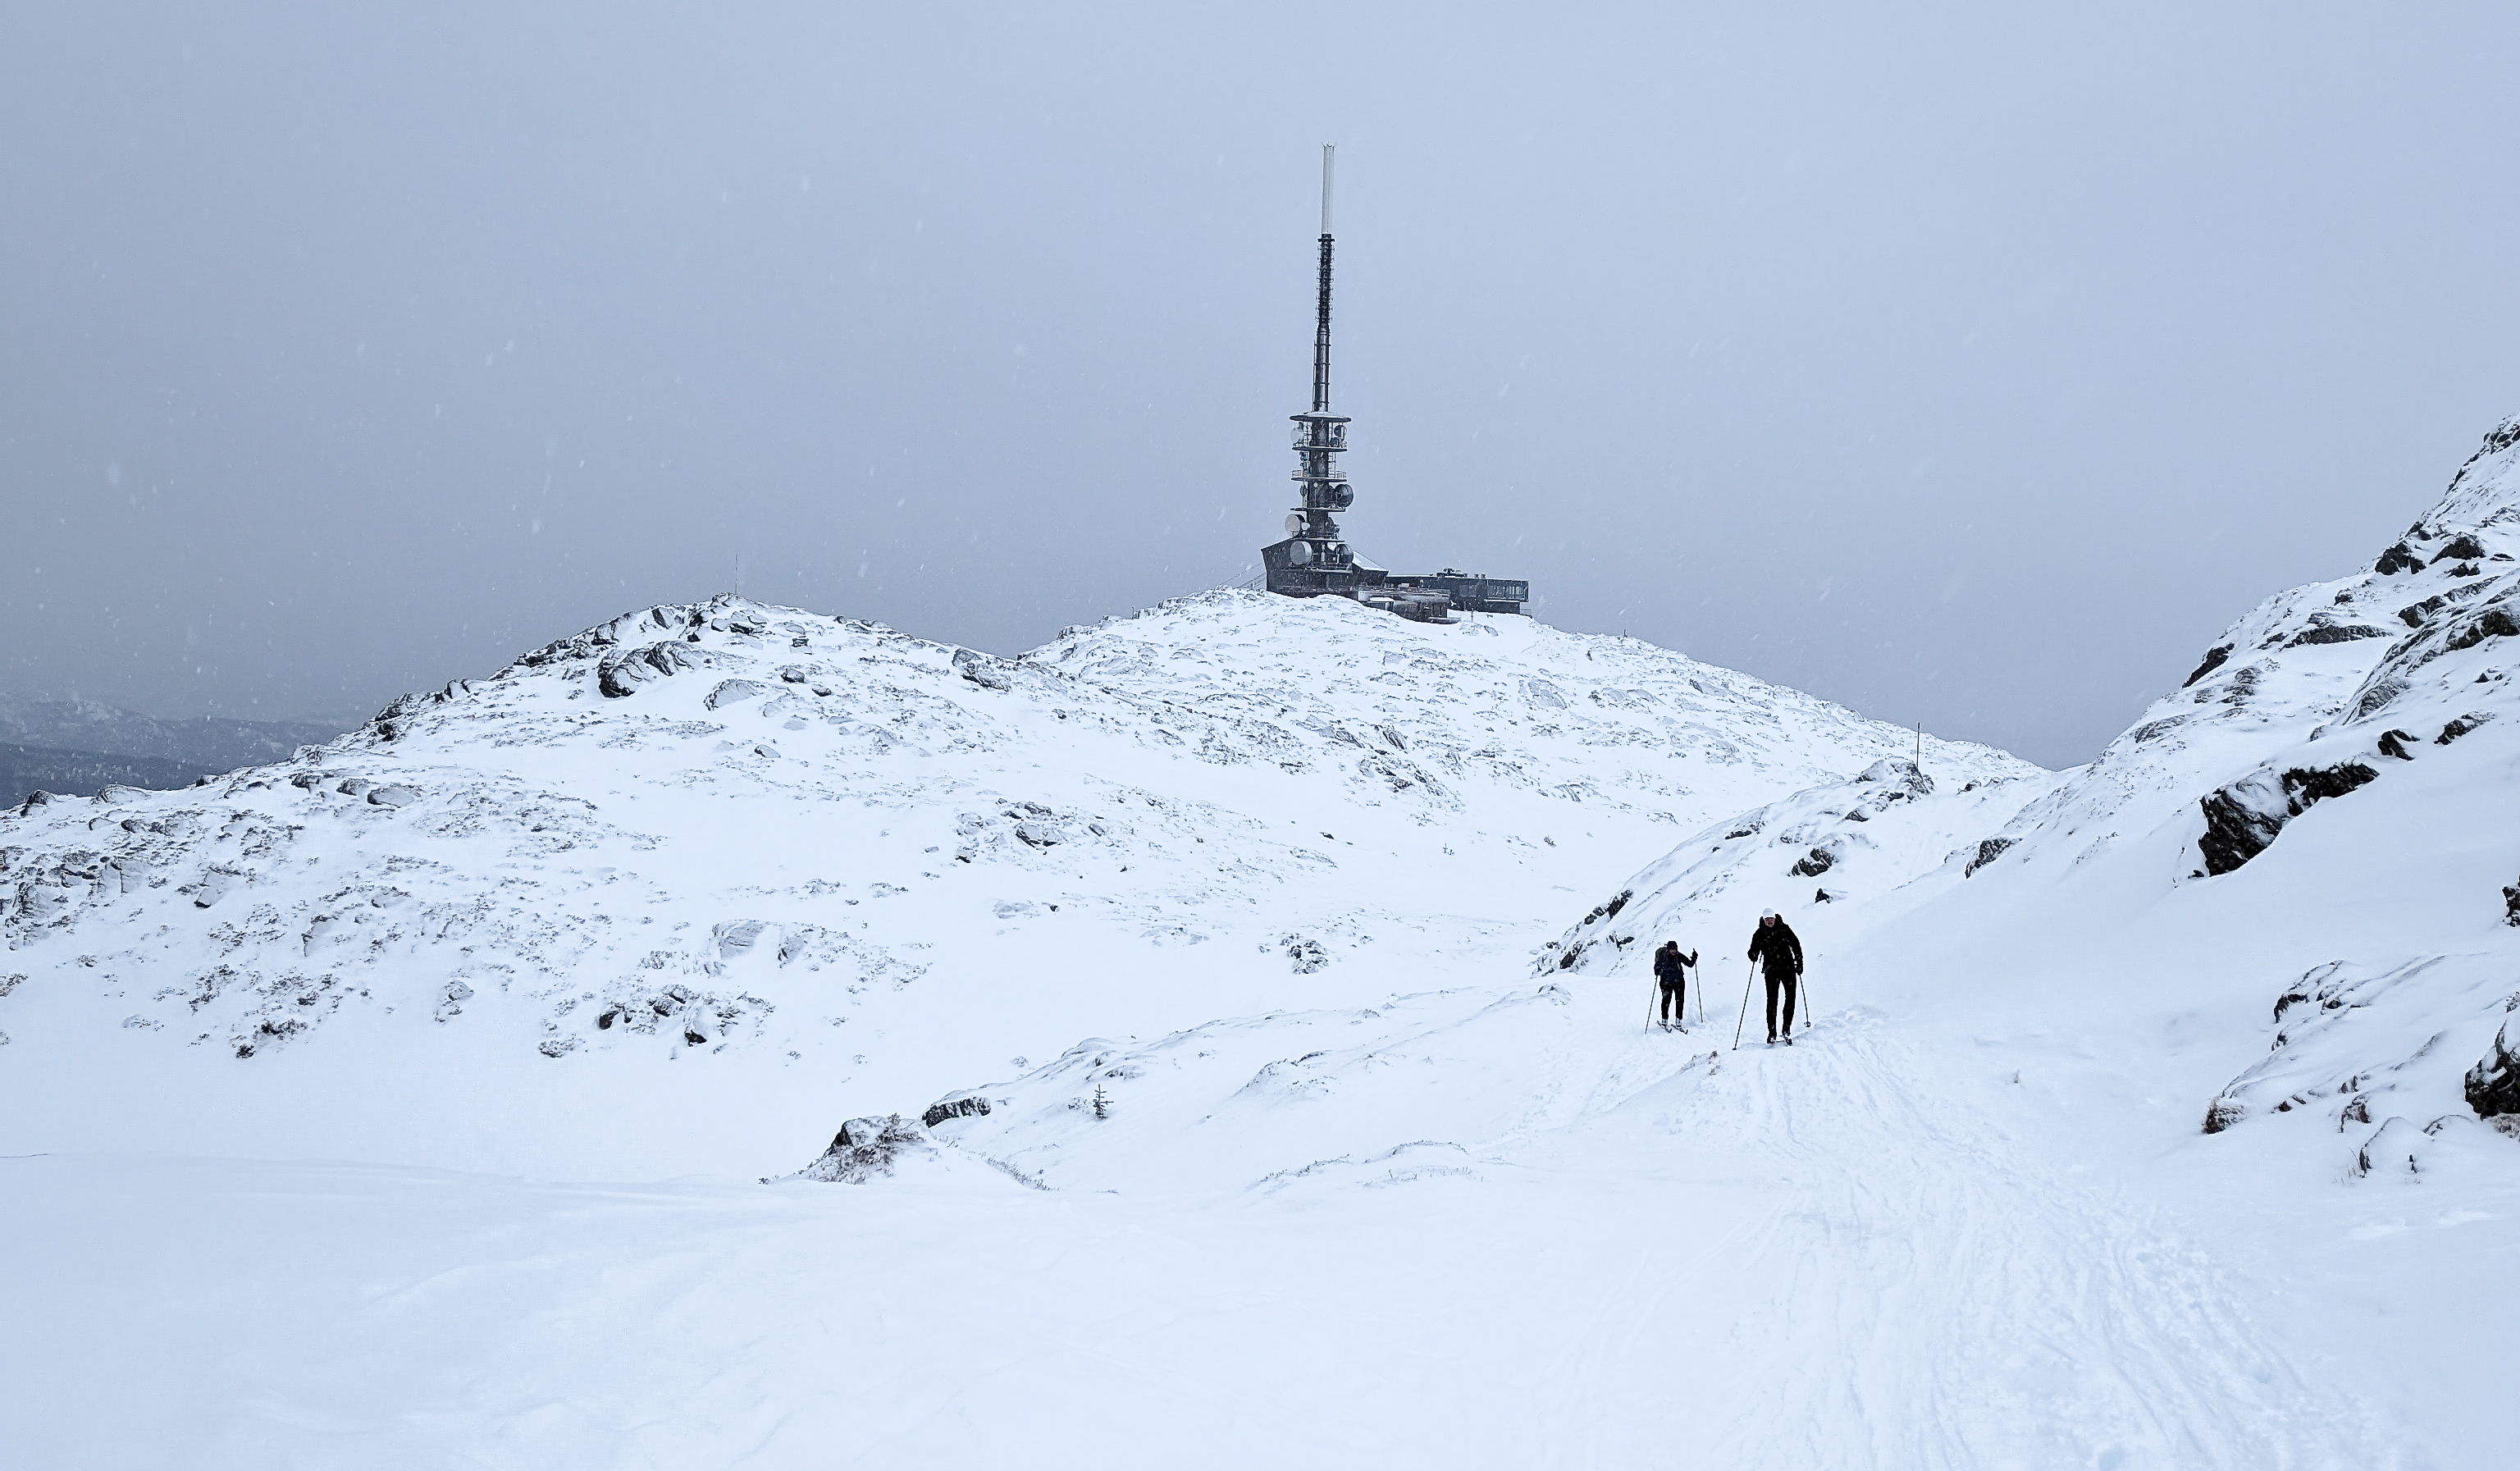
Skiing across Vidden
Safe hiking in Norway
Stay safe and always bring essential clothing, map and compass, a first aid kit and enough food, even on short hikes. This way you get the most out of hiking in the Norwegian nature. Download the Help 113 app, so you have it easily accessible in case of an emergency.
Need to borrow hiking equipment?
There are places you can rent equipment for free or a small fee.